How to Start a Home Bakery: A Step-by-Step Guide for Beginners
Share
So, you love to bake. Friends rave about your cupcakes, your sourdough starter has a name, and your kitchen smells like butter and cinnamon every weekend. If you’ve ever wondered, “Could I actually sell this?”—the answer is YES!
Starting a home bakery is a wonderful way to share your creations with the world and earn income from something you love. Whether you're dreaming of weekend pop-ups or eventually opening a storefront, here’s your roadmap to get started.
Step 1: Perfect Your Signature Bakes
Before anything else, identify your core products. What do people always ask you to make? Cookies? Cheesecakes? French pastries? Focus on a few standouts that:
- Showcase your skills
- Are consistently delicious
- Travel and store well
Pro Tip: Start small. Master 3–5 products first before expanding your menu.
Step 2: Research Your Local Cottage Food Laws
Most states have cottage food laws that allow you to sell baked goods made in your home kitchen—but there are rules:
- What you can/can’t sell (cream pies & cheesecakes are often restricted)
- Where you can sell (online, markets, home pick-up)
- Labeling requirements
- Licensing and inspection requirements
Action Step: Search "[Your State] cottage food laws" to find your local guidelines.
Step 3: Register & Set Up Your Business
Even if you’re just selling part-time, make it official:
- Choose a business name
- Register your business (DBA or LLC depending on your state)
- Get an EIN (Employer Identification Number) from the IRS (it's free!)
- Apply for any required local licenses or permits
Bonus Tip: Check with your homeowner’s association or landlord about home-based businesses.
Step 4: Create a Simple Menu & Price List
People love clear choices. Create a simple menu with:
- Product names
- Descriptions
- Prices (including packaging or delivery if applicable)
- Any allergen info
Pricing Tip: Add up your ingredient cost + packaging + labor + overhead, then mark up for profit. Don’t undersell yourself!
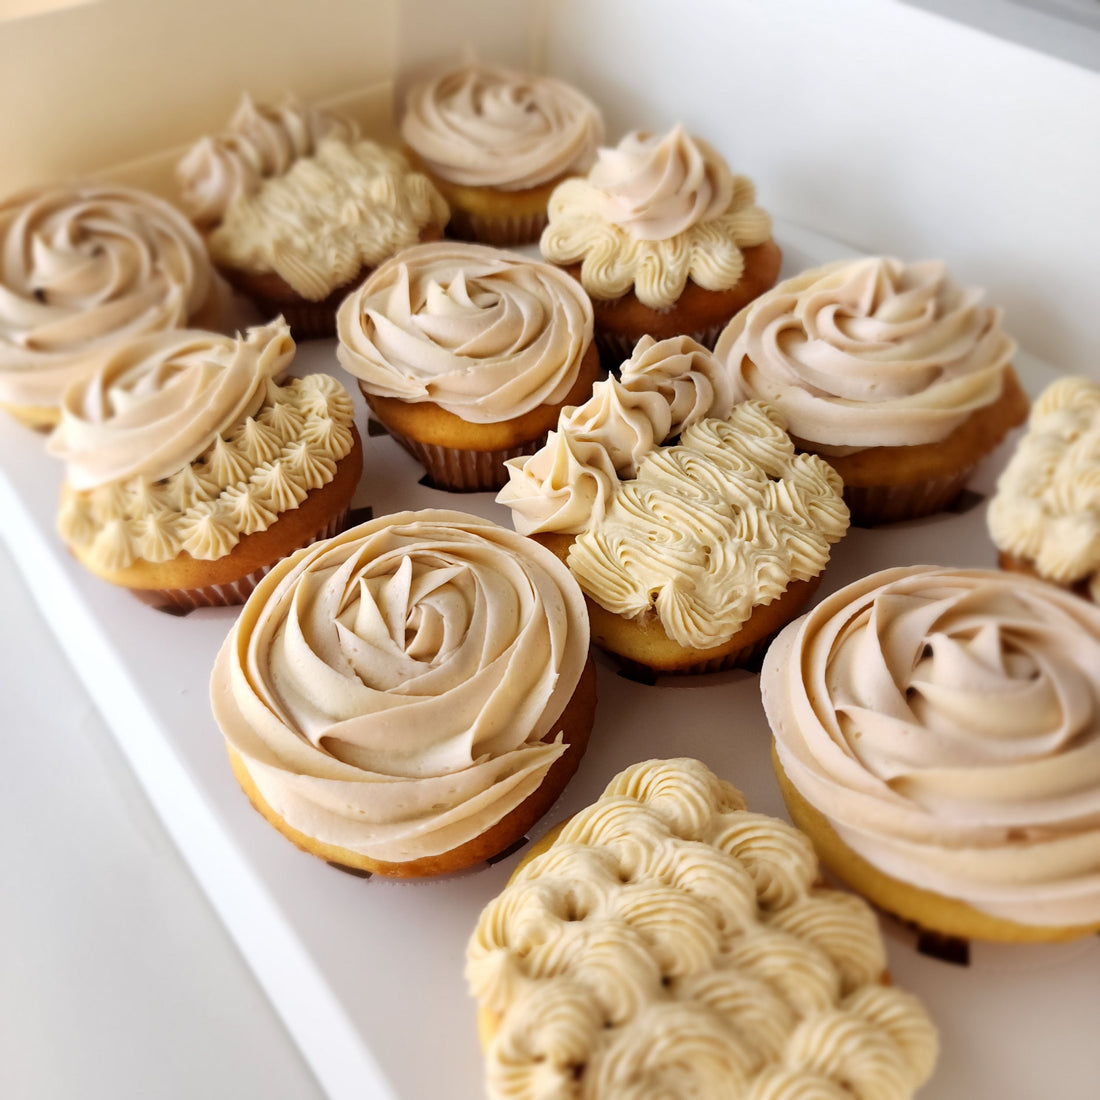
Step 5: Take Great Photos
Your bakes might taste amazing, but people eat with their eyes first—especially online.
- Use natural light near a window
- Use clean, simple backgrounds
- Show close-ups and texture (gooey centers, crumbly tops!)
- Don’t over-edit—let the food shine
You can even use your phone if you follow basic food styling tips!
Step 6: Promote Your Home Bakery Online
You don’t need a full website to get started (though it helps later!). Begin with:
- Instagram or Facebook page
- Post behind-the-scenes baking, final products, and ordering info
- Share testimonials and reviews
- Use local hashtags (#[yourcity]bakery, #homebaker)
If you offer pre-orders or custom orders, set up a simple Google Form or free order link via JotForm or Linktree.
Step 7: Choose Your Delivery or Pick-Up Options
Depending on your setup and laws, offer:
- Porch pick-up (schedule times so it’s easy to manage)
- Local delivery (set radius and fee)
- Farmers markets or pop-ups (requires advance permits)
Pro Tip: Batch your baking days so you’re not baking every single day of the week.
Step 8: Start Small, Gather Feedback, Then Grow
Once you begin selling, pay attention to:
- What products people re-order
- What gets shared on social media
- What questions customers ask
Use that insight to adjust your menu, packaging, or marketing. It’s a journey—refinement is part of the fun!
It’s Okay to Start Imperfectly
You don’t need the perfect logo or a full kitchen remodel to begin. Starting a home bakery is all about sharing joy through baked goods—and you’ve already got that part down.
Just take one step at a time, learn as you go, and keep baking from the heart.
Want more baking business tips like this? Subscribe to our newsletter for weekly how-tos, marketing tricks, and recipe inspiration.